Look, I’m going to cut to the chase. No beating around the bush. Because I know you’re cool and you would do the same for me.
So here it is.
All the cool kids are doing it. So you should too.
You need to get yourself a RAIN GARDEN in your yard. Stat.
No idea what we’re talking about? That’s cool too.
Rain gardens are simply a planned retention and infiltration area for runoff.
That’s it. Everything else is details.
What can a rain garden do for you?
Rain gardens are designed to trap and hold water on your landscape. These gardens can be useful to help naturally irrigate your garden or to prevent erosion in your landscape.
There’s an additional benefit as well – you’re doing your part to reduce the burden on stressed sewer systems nationwide. You can also interpret that this way: rain gardens also help prevent your poop from going into your river.
Installation can range from a very simple design to a complex and well-planned system. The beauty is that even the simplest design will have a positive impact.
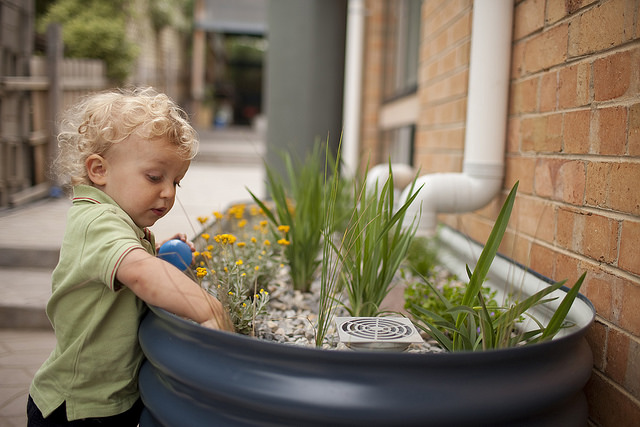
Rain gardens can be very simple. And everyone obviously loves them.
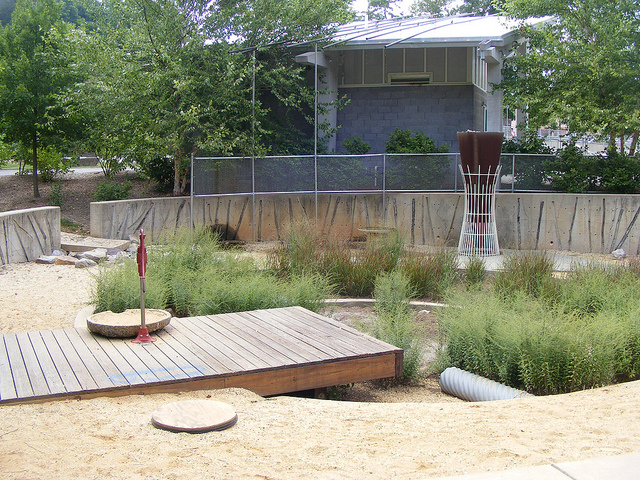
You can make your rain garden a primary landscape element
Super quick, the key points are as follows:
- Determine the size of the rain garden – you can either choose a size you like, or calculate the planned catchment volume for a given rain quantity.
- Determine the site of the rain garden – The surface must be possible to grade level. So no rain gardens on steep hillsides. It doesn’t work like that.
- Plan for overflows in large events
- Generally, plan to slightly excavate on level, then use excavated soil to build a border berm on the downgrade side
- Direct any pipes or downspouts to the garden
- Add organic matter or compost if installing on compacted soil or clay
- Plant it
- Add the rain!
If you aren’t familiar with rain gardens, here’s an awesome podcast episode where I explain how to design a rain garden! (I promise I’m humble, just jazzed about rain gardens.)
Now that we know what we’re talking about and are official experts, let’s get psyched about some cool ideas!
1. The Rain Zen Garden
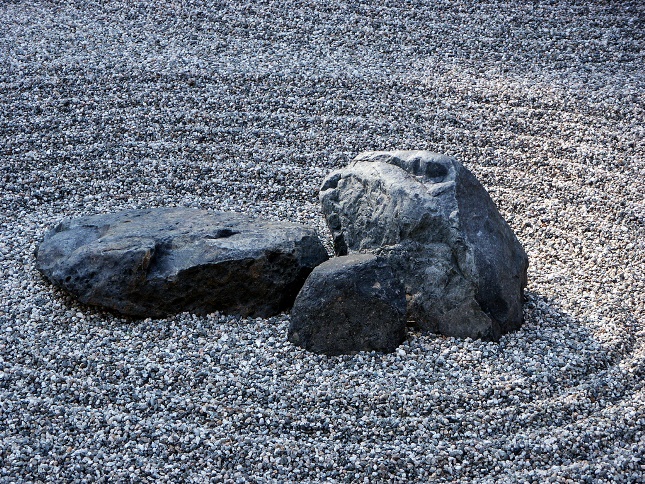
Get focused on your Zen garden
Let’s all face it, Zen gardens are cool. And even if you’re horrible at meditation, they just have this way of soothing the nerves if you do more than just glance at them. So why not turn your rain garden into a Rain Zen Garden? I don’t know either.
Here’s how it works: you plan your rain garden as normal but design at least some of the infiltration area to be a Zen-inspired space complete with loose gravel and strategically placed ornamental rocks. It is probably best to use some sort of permeable weed barrier or landscape fabric below the gravel and rocks.
Because you have a wide area of just gravel and rocks, you’ll want to plant a nice border of water-loving plants around your Rain Zen garden. This will help absorb moisture from the space and help prevent your soil from going anaerobic.
Not to be flippant here, I think Zen gardens are awesome, and am aware that there is an incredible amount of thoughtful design that goes into the best Zen gardens. I’m going to leave it up to you whether you want to simply be inspired by the aesthetics of Zen design or to become fully engulfed into the art. Either way, I’ll still think it’s cool.
2. Go with the Flow
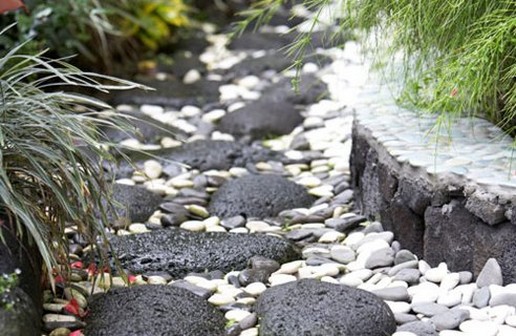
Stone areas can convey a sense of direction and movement
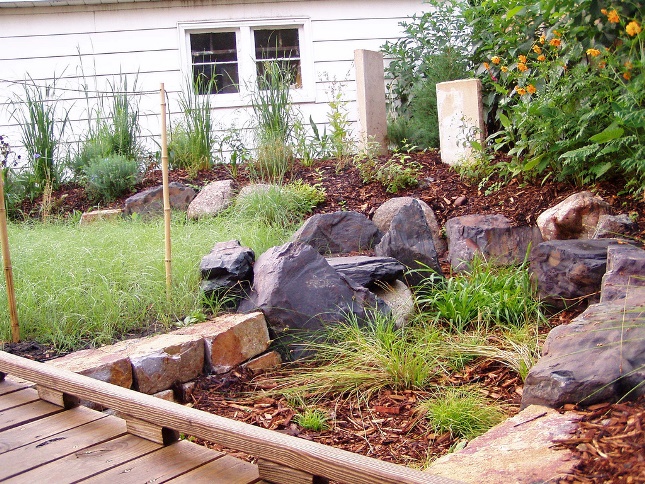
A mulched rain garden can also convey a sense of flow through your landscape
You can give your landscape a sense of movement and direction by adding a linear flow pattern to your rain garden. Essentially, you make it look like a stream running through your landscape, using gravel or rocks as the primary element. This design will lead the eye and add a ‘plot’ to your landscape. Of course, adding plantings throughout is always good. I don’t mean a sterile drainage ditch filled with rocks here.
Here’s how it works: You find a space where the ‘stream’ garden will be on level throughout. This allows the water to spread across the whole area, then infiltrate along it. You can also add directional branches coming from the water source into your main rain garden area. Once you plan the primary layout, design in your supporting plants. Again, it is probably best to use some sort of permeable weed barrier or landscape fabric below the gravel and rocks.
3. Get Classical
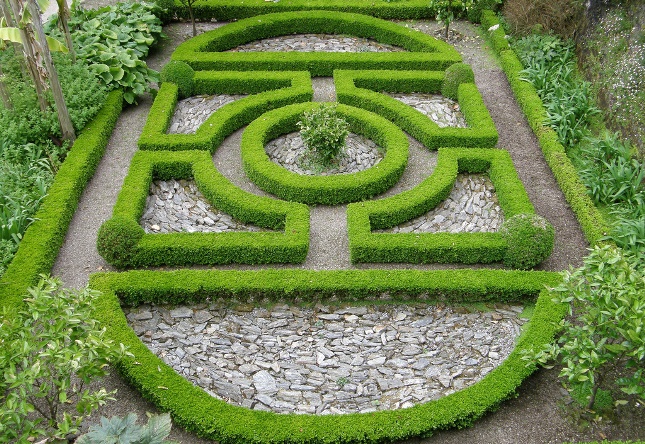
This landscape pairs well with a fine brie and aged Chardonnay. 1976 vintage, of course.
Depending on your landscape, you could get away with a formal style rain garden. Most often you see teardrop, round, or kidney shaped designs. Formal or classical designs are generally well-framed, symmetrical, and rectangular. The classic parterre garden is one such design that could be set up with plants or gravel or both in a very pleasing design that could still be low-maintenance. Louie XIV would be proud. You know, the Versailles palace guy.
Here’s how it works: Get inspired by looking up some classical designs. Check out Vaux-le-Vicomte, for example. Plan out your symmetrical design on paper before doing any work. Scale it up and lay it out in real time. Make sure it fits in well with the surrounding landscape. Then get to work. Then enjoy.
4. Rain Garden And… Rain Garden And…
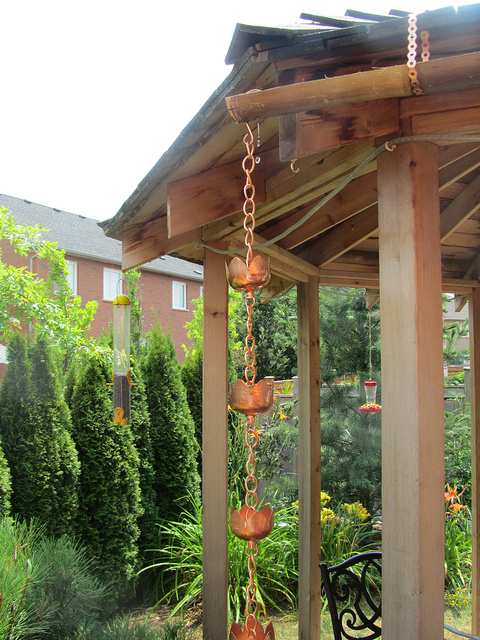
This gazebo invites you to participate in the rain
A rain garden can be more than just a place that catches water when it rains. It can become a cool interactive space, a place that draws you in to participate in the landscape. There are infinite ways you can make your space interactive; you just need to be a little creative. For starters, think of ways you could use the space when it isn’t raining. Now think of ways you could use the space during or after a rain? How could you make it enjoyable to visit in both or either of these scenarios? Just think, you could enjoy the rain up close and personal right by your rain garden in that next summer rainstorm.
5. The Banana Circle, man
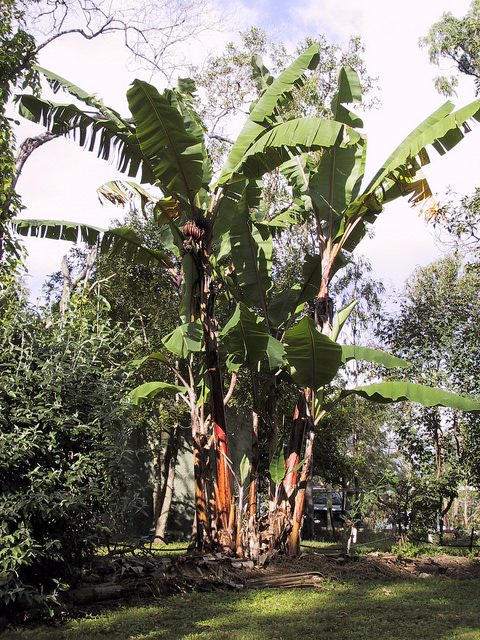
Okay, so maybe this picture of a banana circle is ugly. But you get the idea, right? It doesn’t have to be bananas and it doesn’t have to be ugly.
There is a design tactic in the permaculture world called a ‘banana circle.’ This is essentially a rain garden turned into a food production machine. Primarily designed for the sensitive soils of the tropics and sub-tropics, the banana circle concept can be applied anywhere with great success and enjoyment.
A banana circle is essentially as follows: You designate a small ring about 6 feet wide or more. You excavate the center by about a foot or so, piling the soil on your ring to create a berm. Stabilize the berm with material to prevent erosion during plant establishment, then plant it with your productive plants. You continuously add material to the center to decompose. This holds both moisture and nutrients to feed your ring of productive plants. A banana circle generally takes 6 or 7 banana trees planted in the 6 foot sized design.
To reapply this to your property, you design similarly and direct your runoff into the center of the circle. Follow the same practice of adding organic material to the center of your ring, which will help soak up and retain the runoff. Select plants that enjoy periodically wet soils.
As you can see, there are endless opportunities to add a little interest to your rain garden design. These are just a few ideas to help you realize that you can always add a bit of your own personal taste into your planned design.
Now that you have the inspiration, it’s very important to size the capacity of your garden to the catchment area – the downspouts that lead in to your rain garden and the upslope area that flows into your rain garden.
Below is a free rain catchment calculator tool to help you out. Feel free to use it for better planning and get started today!
Good luck planning and enjoying!
Resources:
- Google Image Search: Vaux-le-Vicomte
- Banana Circles: TreeYo Permaculture
Get the free Rain Catchment Calculator and start today!
Photo Credits: Special thanks to contributors on Flickr under Creative Commons: Stonescapes; Melbourne Water; Dan Reed; Pamela J Eisenberg; Stonescapes; Field Outdoor Space; Sue Hasker; JP Newell; writenq








Hi Ben, I just started listening to your podcast and find it very interesting and helpful. I have a new house raised on pilings with no gutters. We get upwards of 55 inches of rain per year with occasional flooding from hurricanes and dry spells. (between Houston and Galveston). There is a 6 inch deep moat that rain coming off the roof has made in the mostly bare soil. Would it work to make this “moat” into a rain garden? The only problem I see is that plants might get a heavy beating from rain falling in sheets off the roof, more than just from rain. Any suggestions? I also plan to use a rain barrel or 2 but that won’t help the moat issue. Thanks so much!
Hey Janet, great question! I’m sure the folks out west wouldn’t mind if you piped some of that rain their direction ;-)
More seriously, you have a potential problem developing here. In my opinion, you should get gutters on your house as soon as possible to prevent erosion near the foundation pilings. I’m not too familiar with building practices in the Houston/Galveston area, but I would guess water pouring near the pilings could be bad. If you don’t want gutters, I’d recommend putting down an impermeable barrier along the base of the pilings, filled with rock, and graded to runoff into a rain garden. The barrier is to keep water from soaking in near the foundation, and the rock is to prevent further erosion from happening. This is a secondary choice to the gutters, because sheet runoff from the top of your roof (I’d guess 20-30 ft) has very powerful erosive force.
Secondly, I love rain barrels, but they fill up quickly. Here at home base, our 200 sf garden shed fills up our 550 gallon containers in one inch of rain. On a whole house, you need a very large system to collect enough to reduce the water burden near your house. So, I definitely like rain containers, but keep aware that they solve a water storage piece, not to solve a drainage/runoff issue.
Now to the rain garden – This is more in line with solving some problems with water near the foundation. What’s important is you need to site the rain garden at minimum 10 feet from the foundation to prevent water buildup issues around your pilings. Then, you divert the runoff water coming off your roof toward the rain garden infiltration area.
I hope this helps – let me know what you think. Happy to chat further! -Ben