Podcast: Play in new window | Download
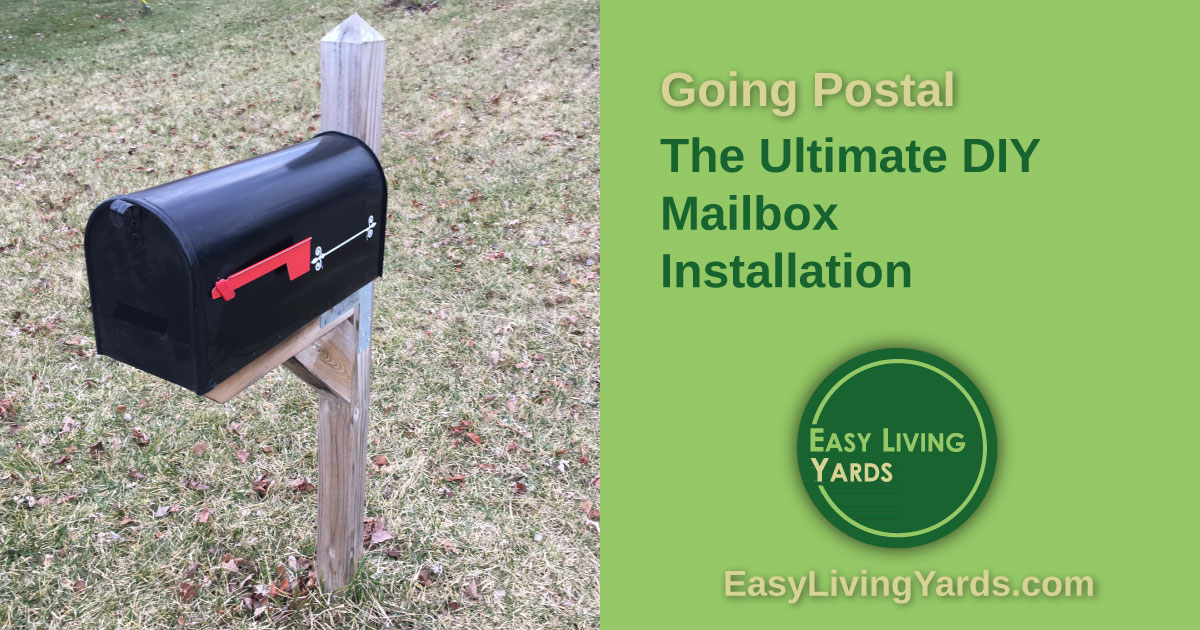
The Ultimate DIY Mailbox Installation Guide
Today’s links: ely.how/episode49
Download The Ultimate DIY Mailbox Installation Guide
- Today’s Plant: The revered, ephemeral tulip
- Free Stuff at ELY.how/free!
- Get Early Access to the upcoming Membership!
- Ask a question
- Find me on Facebook, Twitter, Instagram, or Pinterest
How to install a mailbox
Download the full step-by-step mailbox installation guide here!
- Determine how sturdy you want your mailbox
- The more sturdy
- More work
- More cost
- Less often
- Quick and cheap, pre-built
- Less work
- Less longevity
- Stake-in, hammer-in a few years max
- Standard Cedar Post
- Expect to last 5-10 years
- DIY Pressure treated 4×4 post
- Expect to last 10-20 years
- Understand your soil
- Sandy soil
- Less rot issues
- Less stability
- Clay soil
- More rot
- More sturdy base
- Shallow soil (bedrock, hardpan)
- Tough anchoring – above ground may be necessary
- Cold climate
- Frost heaving
- Sandy soil
- USPS mailbox installation recommendations
- 6-8” back from curb
- 41-45” above street surface
- 24” max post depth
- Able to yield to vehicle collision
- Expert tip: install after mail arrives on Saturday or before US holiday
- My recommendation
- Build to last
- How I reinstalled my mailbox
- Super cute video of my helper
- Get your utilities checked before digging (811)
- Remove old mailbox
- Dig, jack, knock
- Get all previous post and concrete removed
- Pressure treated 4×6
- Cut a shallow point on top of post (or a slant)
- Use galvanized screws to fasten
- Materials for Mailbox Installation:
- One 4×6 vertical post
- One 4×6 horizontal mailbox support
- One 4×6 diagonal support
- Two T fasteners to attach horizontal support
- One 1×6 mailbox platform
- Crushed gravel 1/4” – 1/2”
- Prime subsoil part of post with exterior grade primer
- Finish aboveground post as desired
- Provide a temporary weather-tight box for mail
- Mailbox Installation process
- Dig ~30” hole if possible, 1ft width
- Fill in 4-6” crushed gravel
- Pack in gravel with tamper or board
- Set post in place, plumb with level
- I made a quick 2×4 holder to keep the post in place
- Use at least 1 bag of concrete premix
- Mix the concrete before pouring for greatest strength
- Top with crushed gravel to 1” below soil surface
- Keep base of post free of soil at least 1”
- Attach mailbox after installing post
- Keep 2×4 holder in place 24-48hr to set concrete
- Enjoy your new box!
Today’s favorite plant
Tulip
- Bulb
- 9-24” tall, 6-9” wide
- April-may blooms
- Any color but blue
- USDA zone 3-8
- Prefers medium moisture
- Full sun
- Potential problems if too wet
- Tolerates clay, sandy soil
Note: Some of the links on this page contain affiliate links. If you click on these links to make a purchase, I may obtain a small commission at no charge to you. All of these products are either products I own or have researched and would like to own. You can read my full affiliate disclosure here.








Leave A Comment